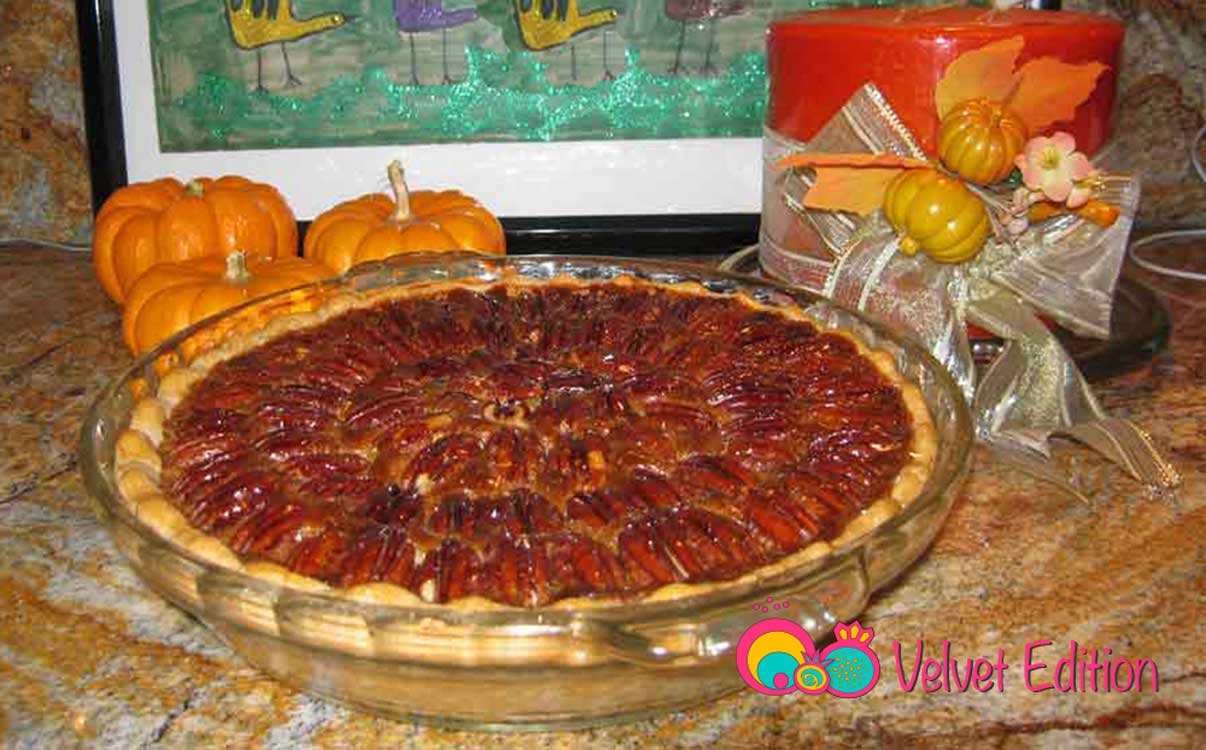
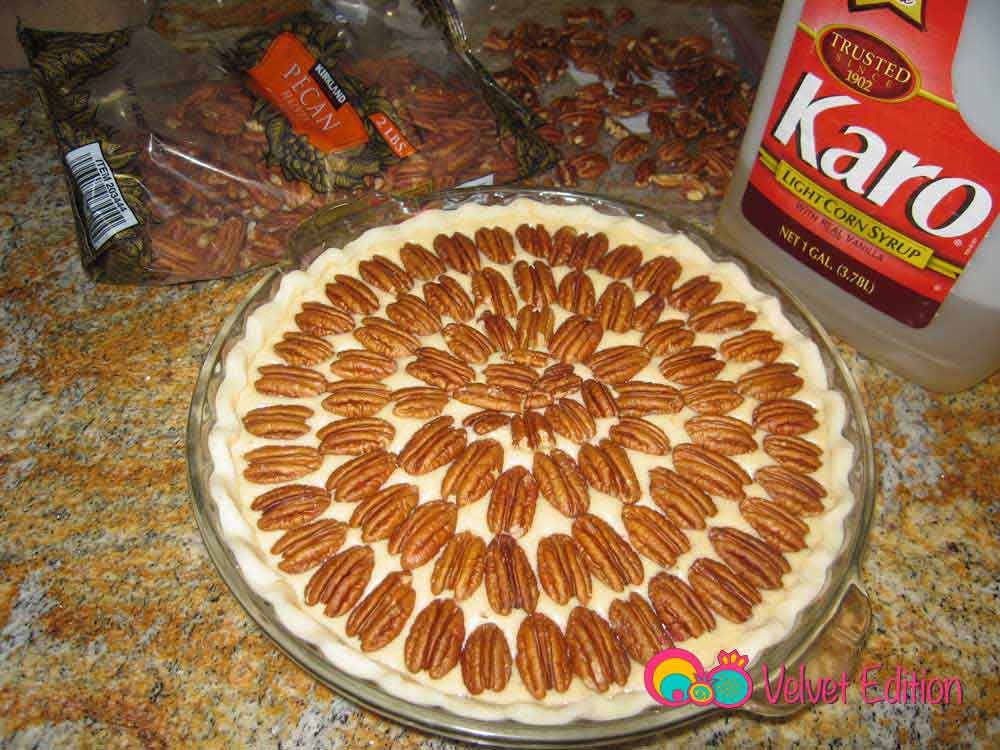
Pecan Pie with a caramel filling is what my family looks forward to after that big turkey dinner. I often make the pastry crust, but the frozen pie crust you buy at the grocery store works just as well. If you are entertaining, make your pie look pretty and professional by arranging the pecans in a concentric pattern. Use the larger pecans for the outer circle and as you work yourself in, use the smaller ones. I like to use the deep 9 inch pie plate because there is plenty of room to hold the caramel filling.
Skill level: Easy
Click here to view Slideshow, Share, & Comment

Pecan Pie
2014-11-19 06:56:54
Serves 8
Prep Time
30 min
Total Time
1 hr 30 min
Crust
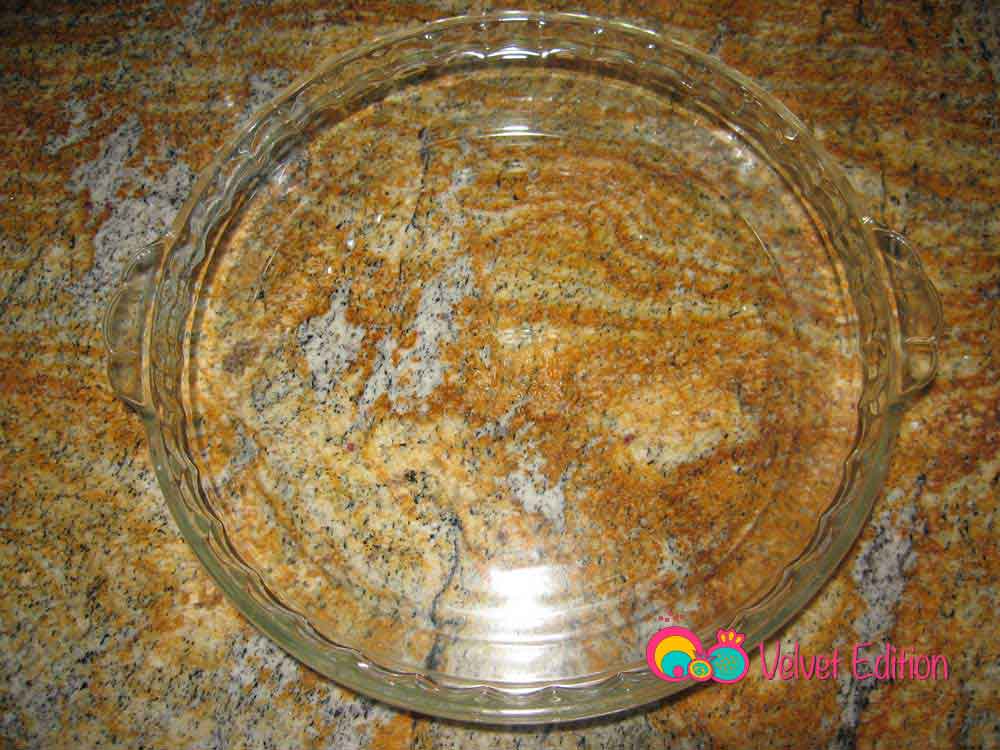
- 9 Inch pie plate
- 1 refrigerated pie crust, softened as directed on box
Filling
- 3/4 cup packed brown sugar
- 3 tablespoons flour
- 1 3/4 cups light corn syrup
- 3 tablespoons unsalted butter
- 3 eggs
- 1 1/2 teaspoons vanilla
- 1 cup pecans or walnuts (preferably whole)
Instructions
- Heat oven to 375°F.
- Place the pie crust in ungreased pie plate. Press firmly against side and bottom.
- Set aside
Filling
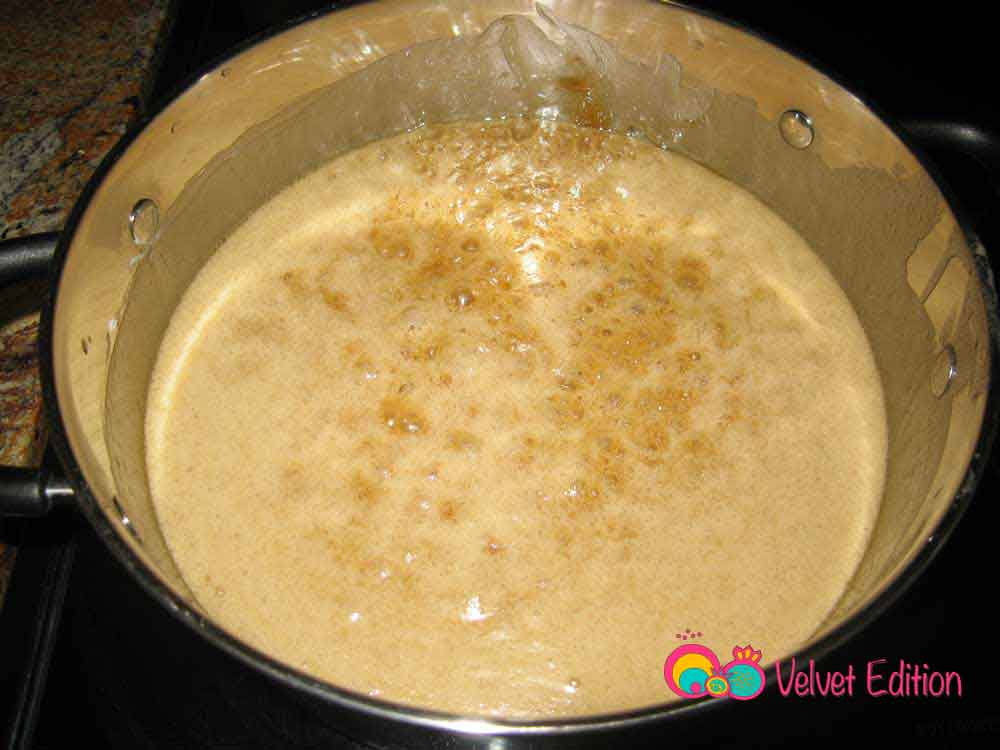
- In a saucepan add the brown sugar, flour, corn syrup and butter.
- On medium high heat bring the content to a boil while stirring constantly.
- Set aside to cool for at least 5 minutes.
- In a mixing bowl, using a hand held mixer, mix the eggs and the vanilla together just until incorporated.
- In a steady stream, gently pour the sugar mixture into the egg mixture. Do not rush this process, otherwise you’ll get scrambled eggs instead.
- Mix just until combined. Do not over beat.
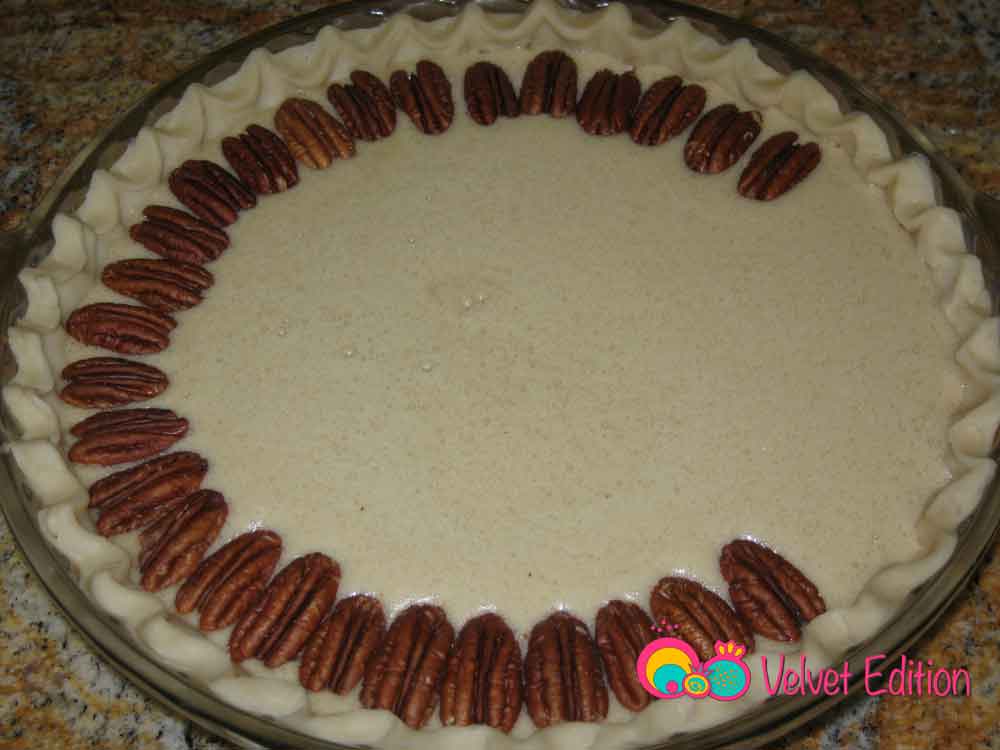
- Pour the filling into the prepared pie plate.
- Arrange the pecans in a concentric pattern over the caramel filling.
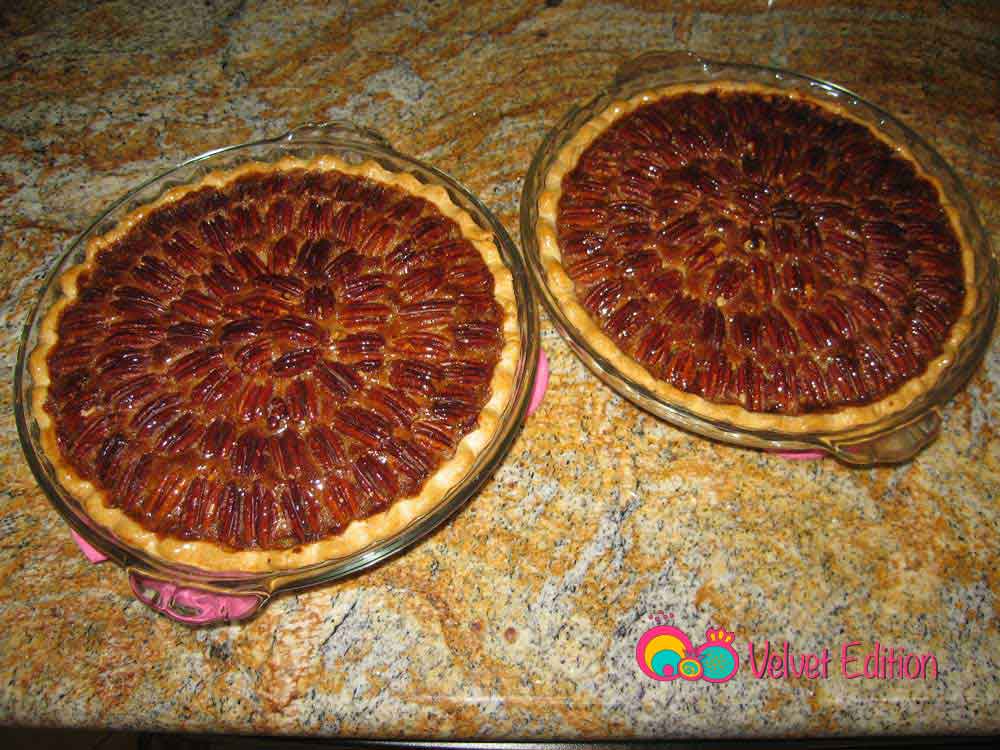
- Carefully place the pie into the heated oven and bake for 45 minutes, until the edges of the crust are golden brown.
Velvet Edition https://www.velvetedition.com/
Click on the first image below to view a step by step slideshow:


Leave a Reply